A WordPress VPS migration from shared hosting takes seven stages: choose and secure the server, install the web stack (Nginx, PHP-FPM, MariaDB), copy the files and database, update the configuration, test on the new server before switching, change DNS, then add SSL and backups. Done carefully, visitors notice nothing except a faster site.
I recently did exactly this for my own site and several client sites: a fresh Ubuntu VPS, Nginx, PHP 8.5, MariaDB, a firewall, key-only SSH, free SSL and automatic deploys from GitHub. This guide follows the same steps, in plain language, with the decisions that matter.
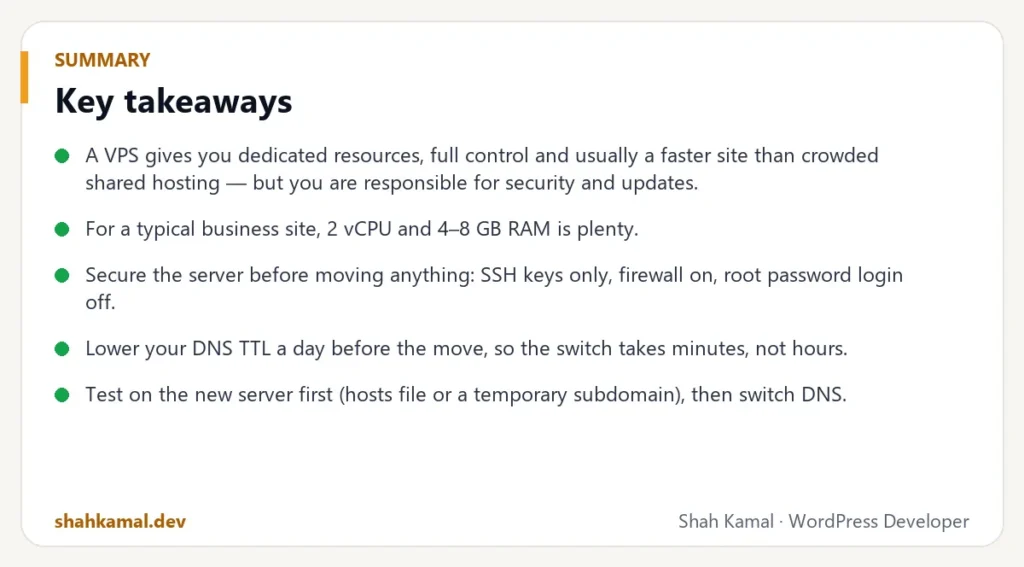
Key takeaways
- A VPS gives you dedicated resources, full control and usually a faster site than crowded shared hosting — but you are responsible for security and updates.
- For a typical business site, 2 vCPU and 4–8 GB RAM is plenty.
- Secure the server before moving anything: SSH keys only, firewall on, root password login off.
- Lower your DNS TTL a day before the move, so the switch takes minutes, not hours.
- Test on the new server first (hosts file or a temporary subdomain), then switch DNS.
- Keep the old hosting for one to two weeks as a fallback.
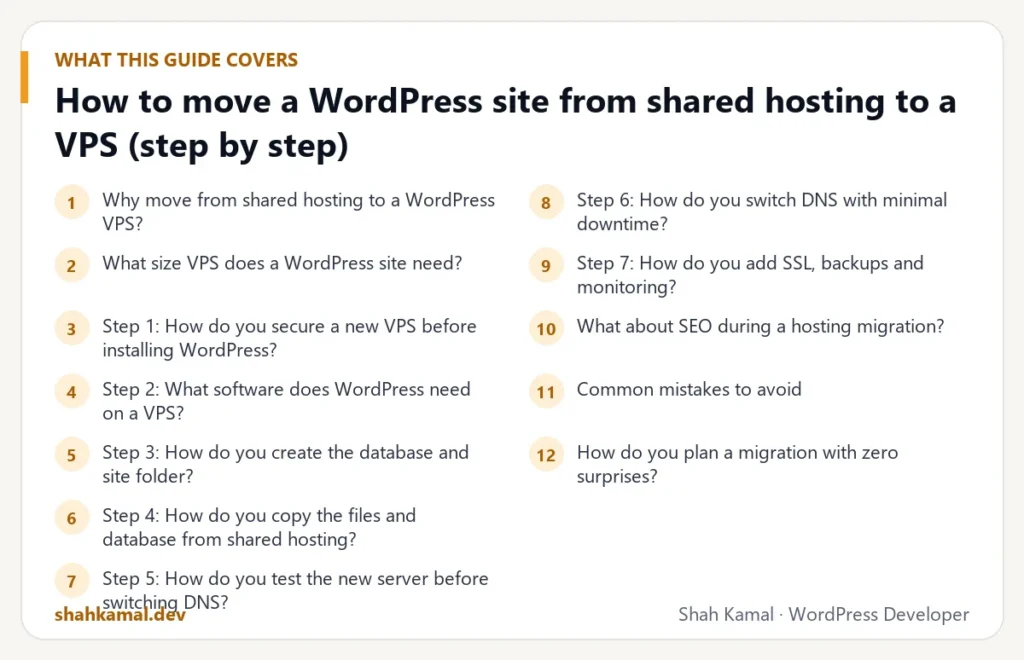
Why move from shared hosting to a WordPress VPS?
Shared hosting puts hundreds of websites on one server. When a neighbour gets a traffic spike or a malware infection, your site feels it. You also cannot change most server settings.
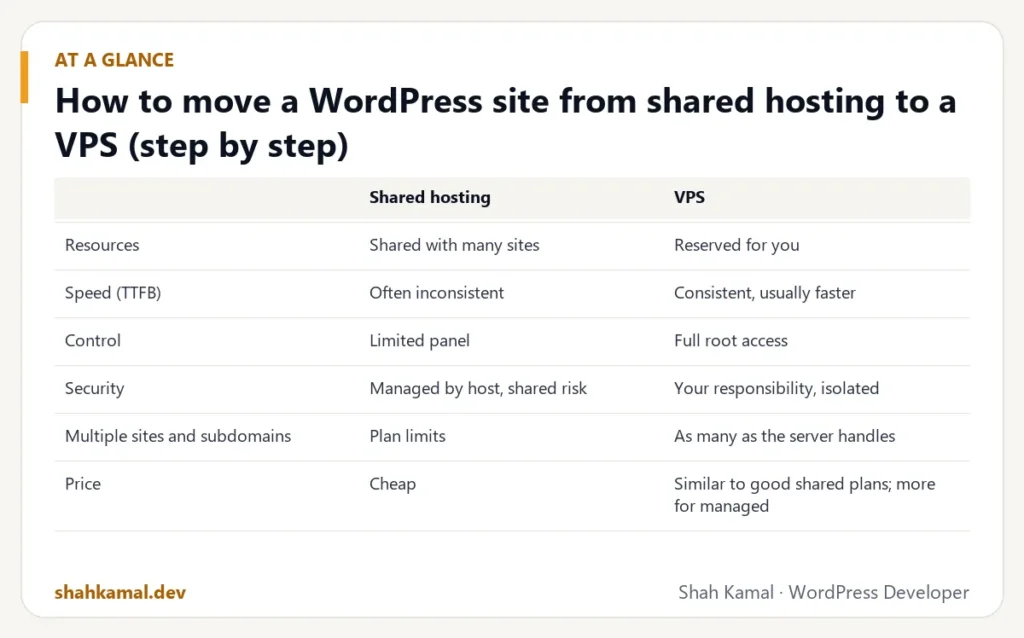
| Shared hosting | VPS | |
|---|---|---|
| Resources | Shared with many sites | Reserved for you |
| Speed (TTFB) | Often inconsistent | Consistent, usually faster |
| Control | Limited panel | Full root access |
| Security | Managed by host, shared risk | Your responsibility, isolated |
| Multiple sites and subdomains | Plan limits | As many as the server handles |
| Price | Cheap | Similar to good shared plans; more for managed |
| Who maintains it | The host | You or your developer |
The last row is the important one. A VPS is not “set and forget”. Someone must apply updates, watch the disk and keep backups. If that is your developer, include it in the plan.
What size VPS does a WordPress site need?
For one to five business sites with normal traffic:
- CPU: 2 vCPU
- RAM: 4 GB (8 GB if you run WooCommerce or several busy sites)
- Disk: 50–100 GB NVMe SSD
- OS: a current Ubuntu LTS release
Pick a data centre close to most of your visitors. You can always upgrade the plan later; most providers resize in minutes.
Step 1: How do you secure a new VPS before installing WordPress?
Bots start trying to log in to a new server within minutes of it going online. Lock it down first.
- Log in once and update everything (
apt update && apt upgrade). - Create an SSH key on your own computer and add the public key to the server.
- Confirm key login works, then turn off password login for SSH and set root to key-only.
- Turn on the firewall (UFW on Ubuntu) and allow only SSH, HTTP and HTTPS.
- Enable automatic security updates.
- Check your provider’s firewall in their control panel. Some providers have a second firewall in front of the server; it must allow the same ports.
Always test the new SSH key in a second window before you turn off password login. If the key does not work and you close your only session, you will need the provider’s web console to get back in.
Step 2: What software does WordPress need on a VPS?
The classic, reliable stack is:
| Component | Job | Notes |
|---|---|---|
| Nginx | Web server | Fast, low memory, easy to configure per site |
| PHP-FPM | Runs WordPress | Use a current PHP version with OPcache |
| MariaDB or MySQL | Database | One database and one user per site |
| Certbot | Free SSL certificates | Renews automatically |
| WP-CLI | WordPress from the command line | Makes installs, migrations and search-replace easy |
Install the PHP extensions WordPress needs: mysqli, curl, gd or imagick, intl, mbstring, xml and zip.
Step 3: How do you create the database and site folder?
For each site:
- Create a database and a dedicated database user with a long random password. Give that user rights to that one database only.
- Create a folder such as
/var/www/example. - Create an Nginx server block for the domain, pointing to that folder and passing
.phpfiles to PHP-FPM. - Block access to hidden files (like
.git) and toxmlrpc.phpunless you need it. - Raise
client_max_body_sizeand PHP’supload_max_filesizeif you upload large media.
Step 4: How do you copy the files and database from shared hosting?
There are two common methods.
Method A: a migration plugin
Plugins like All-in-One WP Migration or Duplicator package the files and database into one archive. You install a fresh WordPress on the VPS, install the same plugin, and import. It is easy, but large sites may hit size limits.
Method B: files and database directly (my preferred method)
- Export the database from the old host (phpMyAdmin or
mysqldump). - Download
wp-content— themes, plugins and uploads. You do not need WordPress core; install a fresh copy on the VPS. - Upload both to the VPS with
rsyncorscp. - Import the database into the new database with WP-CLI.
- Create
wp-config.phpwith the new database name, user and password, and fresh security keys. - Set ownership and permissions: files owned by the web server user, folders
755, files644,wp-config.phpstricter.
This method handles large sites well and leaves no extra plugin behind.
Step 5: How do you test the new server before switching DNS?
Never switch DNS and hope. Test first:
- Hosts file: on your computer, point the domain at the new server’s IP in your
hostsfile. Your browser now loads the VPS while everyone else still sees the old host. - Or a temporary subdomain: for example
new.example.com, then search-replace the URL after the switch.
Check:
- Home page, inner pages and blog posts load.
- Images and media load (no 404s).
- Forms send email.
- Logging in to wp-admin works.
- Permalinks work (if not, the Nginx
try_filesrule is missing). - WooCommerce checkout works in test mode.
- No PHP errors in the server log.
Step 6: How do you switch DNS with minimal downtime?
- A day before: lower the TTL of your domain’s A record to 300 seconds (5 minutes).
- Freeze content on the old site — no new posts or orders during the switch. For stores, choose a quiet hour.
- Re-sync the database and new uploads if anything changed since the copy.
- Change the A record (and
www) to the VPS IP. - Watch the logs on the new server; traffic should arrive within minutes.
Keep email records (MX, SPF, DKIM, DMARC) exactly as they are. Moving the website does not mean moving email, and deleting those records stops your email.
Step 7: How do you add SSL, backups and monitoring?
Once DNS points to the VPS:
- Issue free SSL with Certbot for the domain and
www, with an automatic HTTP to HTTPS redirect. Renewal runs automatically. - Redirect
wwwto the main domain (or the other way round) so there is one canonical address. - Set up backups: a daily database dump and file backup, stored off the server.
- Add security headers in Nginx (
X-Content-Type-Options,X-Frame-Options,Referrer-Policy,Strict-Transport-Security). - Turn on compression for CSS, JS and SVG.
- Monitor uptime with a free service, so you hear about problems before your clients do.
What about SEO during a hosting migration?
A hosting move does not change your URLs, so rankings are safe if:
- The site is down for minutes, not days.
- Every URL returns the same content (check your sitemap URLs).
- If the site must be offline briefly, it returns 503 “Service Unavailable” with a
Retry-Afterheader, not a blank page or a 404. Google treats 503 as temporary.
Common mistakes to avoid
- Turning off SSH passwords before confirming the key works.
- Forgetting the provider-level firewall.
- Deleting email DNS records while editing the A record.
- Leaving the old hosting active and sending forms from both servers.
- No backups on the new server “because it’s new”.
- Running everything as root, including deploys. Use a separate, restricted user.
How do you plan a migration with zero surprises?
The technical steps are only half of a smooth move. The other half is planning:
| When | Task |
|---|---|
| One week before | List every site, subdomain, email account and cron job on the old hosting |
| One week before | Note PHP version, PHP settings and any server-level redirects or rules |
| Three days before | Set up and secure the VPS; install the stack |
| One day before | Lower DNS TTL to 300 seconds; take full backups |
| Move day | Copy files and database, test via hosts file, final sync, switch DNS |
| Move day + 1 | Issue SSL, check forms, check search console for errors |
| Next 2 weeks | Keep the old hosting as a fallback; monitor logs and uptime |
The inventory step is where most migrations fail. A forgotten subdomain, a cron job that sent invoices, or an email account on the same hosting can break quietly after the move.
What about email when you move the website?
Many shared hosting plans include email for your domain. Moving the website to a VPS does not have to move email.
- If your email stays with the old host (or Google Workspace, Microsoft 365), keep the MX, SPF, DKIM and DMARC records exactly as they are and only change the website records (A records for the domain and
www). - If you cancel the old hosting, move email to a dedicated email service first.
- Do not run a mail server on the VPS just for contact forms. Use SMTP with your email provider or a transactional email service, so form emails are delivered and do not land in spam.
How do you keep a VPS healthy after the move?
A short monthly routine keeps a WordPress VPS secure and fast:
- Apply system updates (security updates can be automatic).
- Update WordPress core, plugins and themes — on staging first for big updates.
- Check that backups ran, and test restoring one every few months.
- Check disk space and the size of log files.
- Review the firewall and the list of SSH keys; remove keys of people who no longer need access.
- Renewals: domain, SSL (automatic), premium plugin licences.
- Look at the error log for repeated PHP warnings.
FAQ
Frequently asked questions
Is a VPS faster than shared hosting for WordPress?
Usually yes, because resources are not shared and you can tune PHP, caching and the database for your site. A badly configured VPS can still be slow; configuration matters.
Will moving to a VPS cause downtime?
With the steps above — lower TTL, test before switching, sync, then change DNS — downtime is usually zero or a few minutes.
Do I need a control panel like cPanel on a VPS?
No. Many developers manage WordPress on a VPS with Nginx, WP-CLI and SSH, which uses fewer resources. Panels are convenient if non-technical people need access.
Who maintains the VPS after the move?
You or your developer. Plan for monthly updates, backup checks and occasional PHP upgrades, or choose a managed VPS.
Can I host several WordPress sites on one VPS?
Yes. Each site gets its own folder, database, database user and Nginx server block. A wildcard DNS record makes new subdomains easy.
If you want your WordPress site moved to a secure, fast VPS — or a new server set up with automatic deploys — see my VPS and DevOps service or hire me on Upwork.
Planning a project?
Invite me to your job or hire me on Upwork, and we can talk it through there. I usually reply within a few hours.
Hire me on Upwork